# Vaultwarden (Bitwarden) installieren

## Vorgehensweise

[Github AndresHardware](https://github.com/AndresHardware/Vaultwarden/tree/main)

##### Alternative implementation of the Bitwarden server API written in Rust and compatible with [upstream Bitwarden clients](https://bitwarden.com/download/)\*, perfect for self-hosted deployment where running the official resource-heavy service might not be ideal.

<div class="markdown-heading" dir="auto" id="bkmrk-">[<svg aria-hidden="true" class="octicon octicon-link" height="16" version="1.1" viewbox="0 0 16 16" width="16"></svg>](https://github.com/AndresHardware/Vaultwarden/tree/main#alternative-implementation-of-the-bitwarden-server-api-written-in-rust-and-compatible-with-upstream-bitwarden-clients-perfect-for-self-hosted-deployment-where-running-the-official-resource-heavy-service-might-not-be-ideal)</div>📢 Note: This project was known as Bitwarden\_RS and has been renamed to separate itself from the official Bitwarden server in the hopes of avoiding confusion and trademark/branding issues.

**This project is not associated with the [Bitwarden](https://bitwarden.com/) project nor Bitwarden, Inc.**

⚠️**IMPORTANT**⚠️: When using this server, please report any bugs or suggestions to us directly (look at the bottom of this page for ways to get in touch), regardless of whatever clients you are using (mobile, desktop, browser...). DO NOT use the official support channels.

<div class="markdown-heading" dir="auto" id="bkmrk--2">[<svg aria-hidden="true" class="octicon octicon-link" height="16" version="1.1" viewbox="0 0 16 16" width="16"></svg>](https://github.com/AndresHardware/Vaultwarden/tree/main#%EF%B8%8Fimportant%EF%B8%8F-when-using-this-server-please-report-any-bugs-or-suggestions-to-us-directly-look-at-the-bottom-of-this-page-for-ways-to-get-in-touch-regardless-of-whatever-clients-you-are-using-mobile-desktop-browser-do-not-use-the-official-support-channels)</div>---

#### Host your own Vaultwarden with NGINX

<div class="markdown-heading" dir="auto" id="bkmrk--5">[<svg aria-hidden="true" class="octicon octicon-link" height="16" version="1.1" viewbox="0 0 16 16" width="16"></svg>](https://github.com/AndresHardware/Vaultwarden/tree/main#host-your-own-vaultwarden-with-nginx)</div>Diese Repository zeigt dir, wie du deinen eigenen Vaultwarden Passwort Manager Server erstellen und konfigurieren kannst. Ich nutzte hierfür Proxmox, das ganze kann aber auch mit einem RaspberryPi oder vergleichbarer Hardware gemacht werden. Eine Ausführliche Anleitung findet du auf meinem [YouTube Kanal](https://www.youtube.com/@andreshardware).

#### Features

<div class="markdown-heading" dir="auto" id="bkmrk--7">[<svg aria-hidden="true" class="octicon octicon-link" height="16" version="1.1" viewbox="0 0 16 16" width="16"></svg>](https://github.com/AndresHardware/Vaultwarden/tree/main#features)</div>Basically full implementation of Bitwarden API is provided including:

- Organizations support
- Attachments and Send
- Vault API support
- Serving the static files for Vault interface
- Website icons API
- Authenticator and U2F support
- YubiKey and Duo support
- Emergency Access

#### Vorbereitungen

Verwende ein aktuelles Debian System in einem Proxmox Container

```
apt-get update && apt-get upgrade -y && apt autoremove -y
apt install curl
apt install argon2

curl -sSL https://get.docker.com | sh
apt install docker-compose -y
```

<div class="zeroclipboard-container" id="bkmrk--11">  
</div>#### Installation

<div class="markdown-heading" dir="auto" id="bkmrk--12">[<svg aria-hidden="true" class="octicon octicon-link" height="16" version="1.1" viewbox="0 0 16 16" width="16"></svg>](https://github.com/AndresHardware/Vaultwarden/tree/main#installation)</div>```
mkdir docker
cd docker
mkdir Vaultwarden
mkdir Vaultwarden
nano docker-compose.yml
```

<div class="zeroclipboard-container" id="bkmrk--14">  
</div>#### Admin-Token als Hash Wert erstellen

<div class="markdown-heading" dir="auto" id="bkmrk--15">[<svg aria-hidden="true" class="octicon octicon-link" height="16" version="1.1" viewbox="0 0 16 16" width="16"></svg>](https://github.com/AndresHardware/Vaultwarden/tree/main#admin-token-als-hash-wert-erstellen)</div>Nach dem generieren des Admin-Token kann dieser in die Docker-Compose Datei eingefügt werden, hierbei muss vor jedem "$"- Zeichen ein weiteres "$" ergänzt werden!

```
# Using the Bitwarden defaults
echo -n "MySecretPassword" | argon2 "$(openssl rand -base64 32)" -e -id -k 65540 -t 3 -p 4
```

<div class="highlight highlight-source-shell notranslate position-relative overflow-auto" dir="auto" id="bkmrk--17"><div class="zeroclipboard-container">  
</div></div>#### Importieren der docker-compose.yml Datei

```
version: '3'

services:
  vaultwarden:
    restart: always
    container_name: vaultwarden
    image: vaultwarden/server:latest
    volumes:
      - ./vw-data/:/data/
    ports:
      - 80:80
    environment:
      - SMTP_HOST=smtp.gmail.com
      - SMTP_FROM=yourmailadress@gmail.com
      - SMTP_FROM_NAME=Vaultwarden
      - SMTP_SECURITY=force_tls
      - SMTP_PORT=465
      - SMTP_USERNAME=yourmailadress@gmail.com
      - SMTP_PASSWORD=YourAppPasswort
      - SMTP_TIMEOUT=30
      - SMTP_AUTH_MECHANISM="Plain"
      - LOGIN_RATELIMIT_MAX_BURST=10
      - LOGIN_RATELIMIT_SECONDS=60
      - DOMAIN=yourDomain or IP-Adress
      - INVITATION_ORG_NAME=HomeVault
      - INVITATIONS_ALLOWED=true
      - ADMIN_TOKEN=YourArgon2 key or Passwort
      - SIGNUPS_ALLOWED=true
      - SIGNUPS_DOMAINS_WHITELIST=example.com,mydomain.net,myotherdomain.org
      - SIGNUPS_VERIFY=true
      - SIGNUPS_VERIFY_RESEND_TIME=3600
      - SIGNUPS_VERIFY_RESEND_LIMIT=6
      - EMERGENCY_ACCESS_ALLOWED=true
      - SENDS_ALLOWED=true
      - WEB_VAULT_ENABLED=true
```

In der yml-Datei SMTP einstellungen Anpassen. Die Domain Eintragen und den AdminToken generieren.

<div class="markdown-heading" dir="auto" id="bkmrk--18">[<svg aria-hidden="true" class="octicon octicon-link" height="16" version="1.1" viewbox="0 0 16 16" width="16"></svg>](https://github.com/AndresHardware/Vaultwarden/tree/main#importieren-der-docker-composeyml-datei)</div>Kopiere nun den Inhalt aus der docker-compose.yml.txt Datei in deine eben erstellte .yml datei und passe es entsprechend an.

Anschließend kann der Container ausgerollt werden.

```
docker-compose up -d
```

<div class="highlight highlight-source-shell notranslate position-relative overflow-auto" dir="auto" id="bkmrk--20"><div class="zeroclipboard-container">  
</div></div>#### Domain über Proxy Manager mit der IP Adresse verknüpfen

<div class="markdown-heading" dir="auto" id="bkmrk--21">[<svg aria-hidden="true" class="octicon octicon-link" height="16" version="1.1" viewbox="0 0 16 16" width="16"></svg>](https://github.com/AndresHardware/Vaultwarden/tree/main#domain-%C3%BCber-proxy-manager-mit-der-ip-adresse-verkn%C3%BCpfen)</div>Als nächstes die Domain mit der IP-Adresse des Vaultwarden verknüpfen und die SSL verschlüselung aktivieren.

### Update

<p class="callout warning">Noch nicht getestet</p>

Update über docker-compose   
Im Ordner in der die docker-compose.yml datei liegt folgendes eingeben:

```
docker-compose down
```

danach

```
docker-compose up
```

##  

## Alte Version

### Admin Zugang

Der Adminzugang ist erreichbar über domain.co/admin. Hier muss der Token eingegeben werden. Der ist da zu finden, wo er gespeichert ist.

#### Bitwarden installieren

[Protainer installieren](https://books.hhml.selfhost.co/books/linux/page/docker-docker-compose-und-portainer-installieren "Docker, Docker-Compose und Portainer installieren")

[Bitwarden im Dockercontainer installieren mithilfe von Portainer](https://www.youtube.com/watch?v=nShKWcPD6w0)

**Volume**

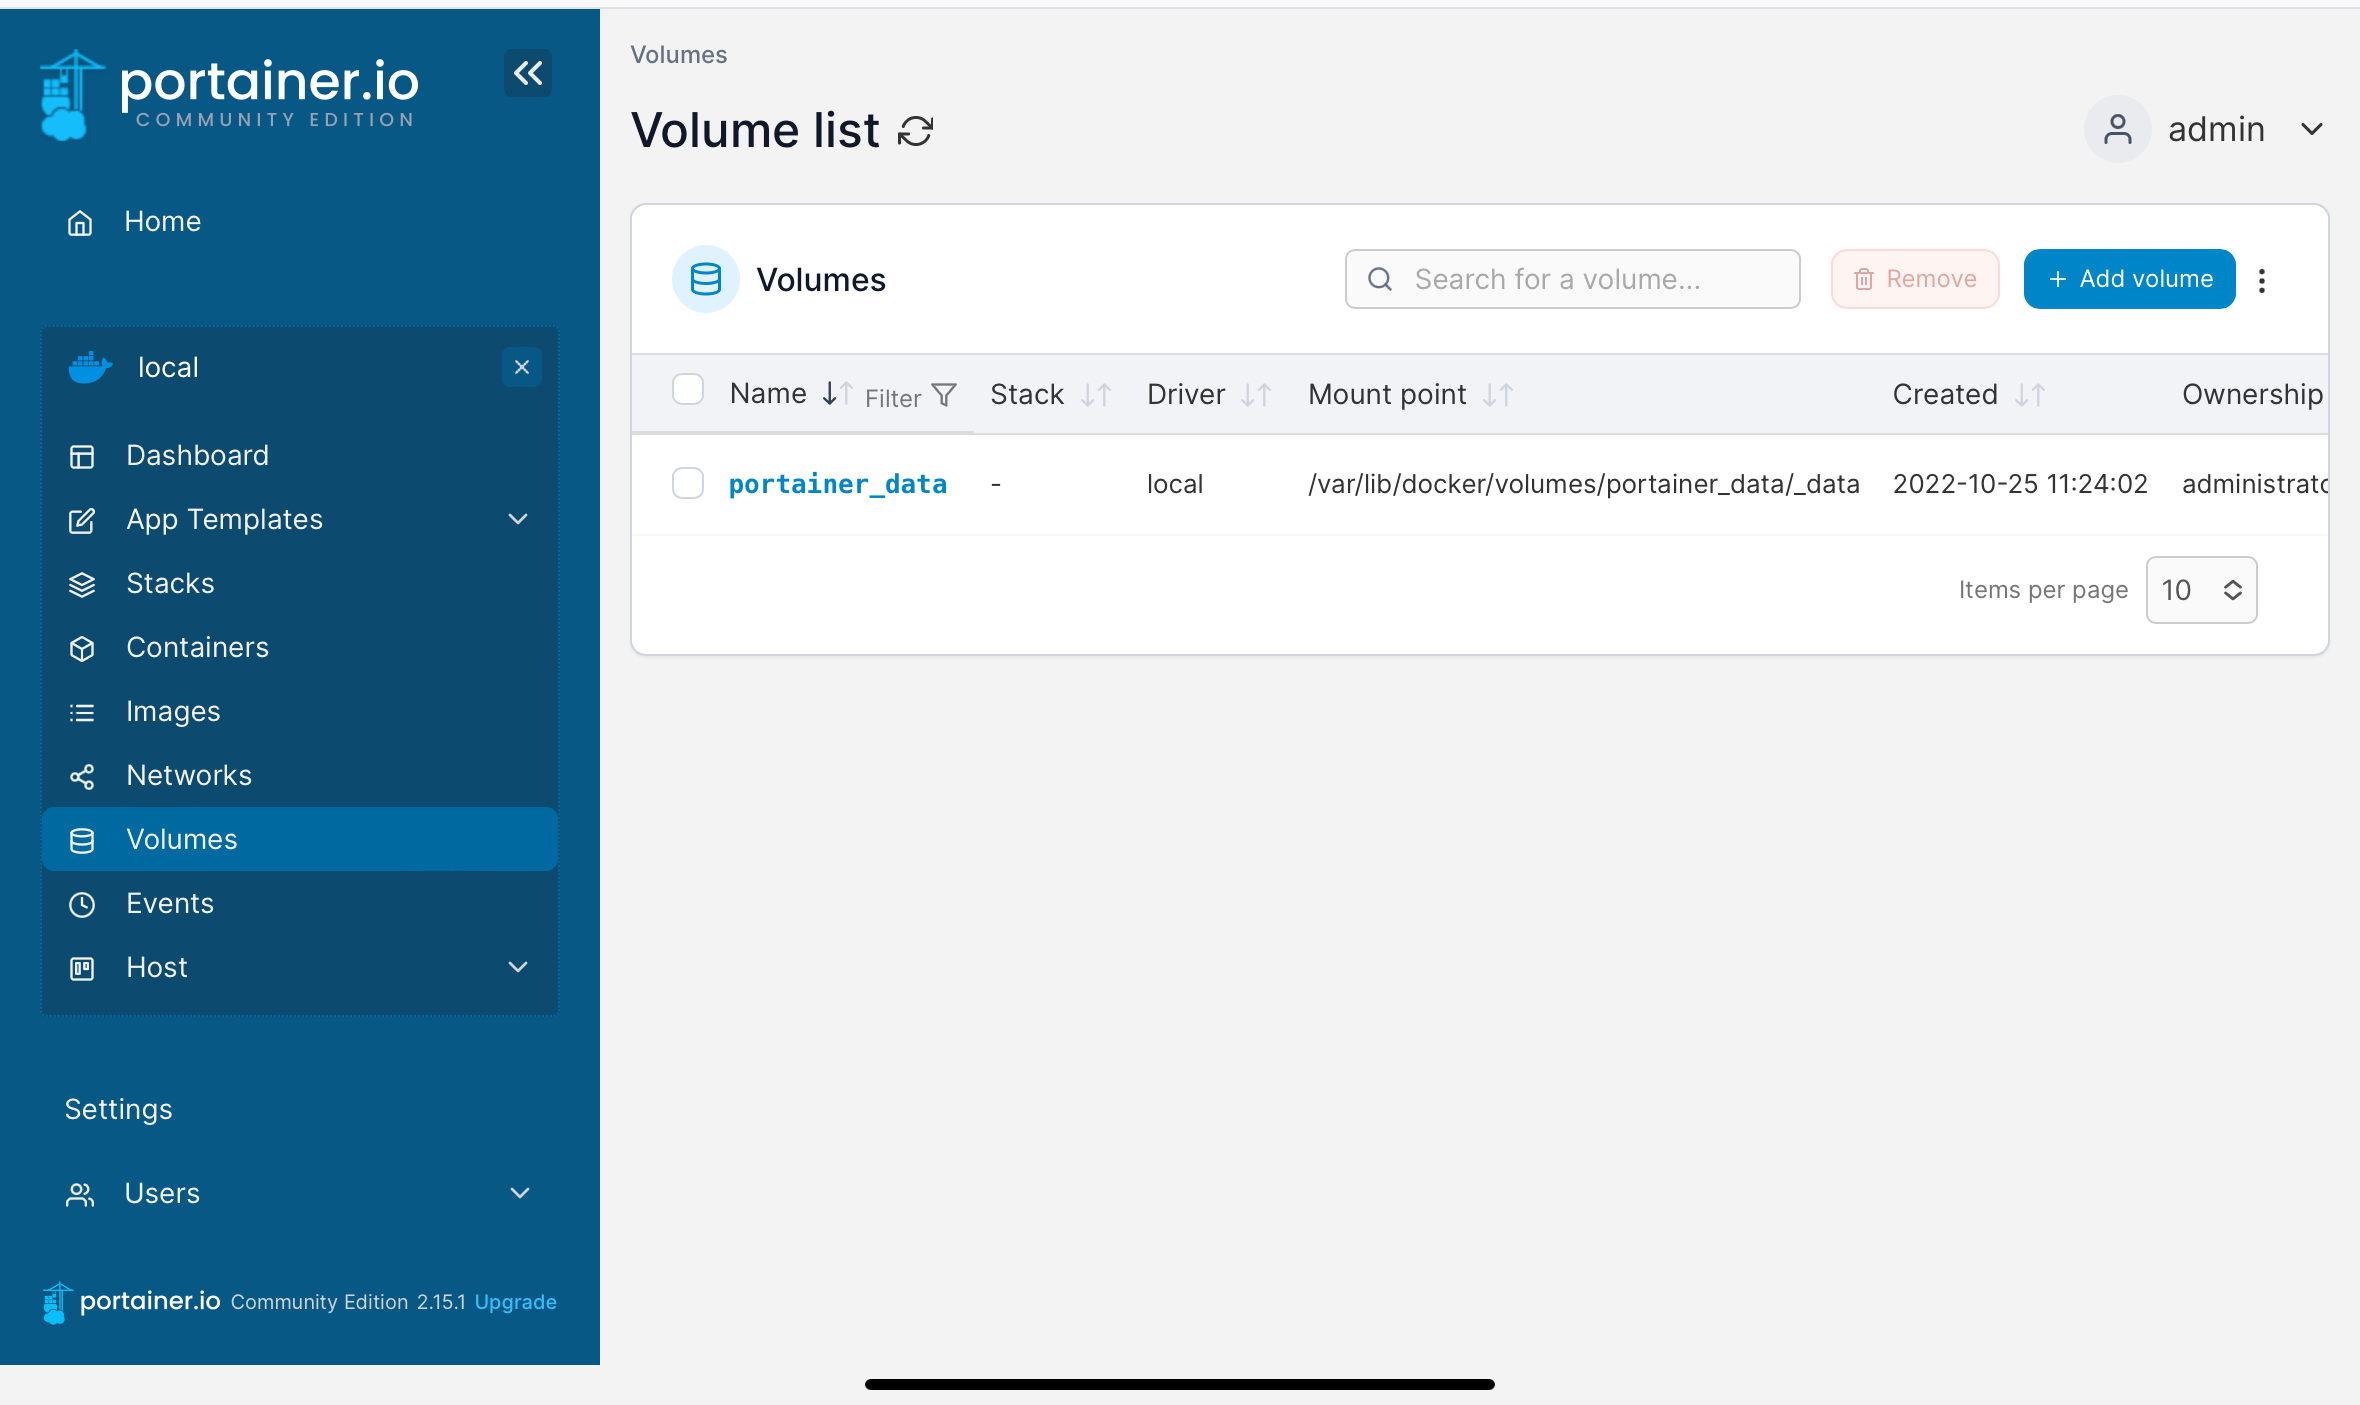
Volumes &gt; Add volume

[![grafik.png](https://wiki.hhml.selfhost.co/uploads/images/gallery/2023-03/scaled-1680-/grafik.png)](https://wiki.hhml.selfhost.co/uploads/images/gallery/2023-03/grafik.png)

Name: vaultvarden

**Container**

Add Container

<div class="page-content" id="bkmrk-name%3A-vaultwarden-im"><div class="page-content"><div dir="auto">- Name: Vaultwarden
- image: vaultwarden/server:latest

</div></div></div><span style="background-color: rgb(126, 140, 141); color: rgb(255, 255, 255);">+publish a new network port</span>

`host: 8080 contianer: 80`

**Advanced Container settings**

**Volume**

<span style="color: rgb(255, 255, 255); background-color: rgb(126, 140, 141);">+map additional volume</span>

Container: `/data`

Select a Volume (vorher erstelltes Volume): `vaultwarden `

**Restart policy**

Always

<span style="background-color: rgb(53, 152, 219);">**Deploy the Conainer**</span>

[![grafik.png](https://wiki.hhml.selfhost.co/uploads/images/gallery/2023-03/scaled-1680-/4Y4grafik.png)](https://wiki.hhml.selfhost.co/uploads/images/gallery/2023-03/4Y4grafik.png)

[Nginx einrichten](https://books.hhml.selfhost.co/books/linux/page/nginx-reverse-proxy "Nginx Reverse Proxy")

Um immer den aktuellsten Vaultwarden zu verwenden am besten [Watchtower ](https://books.hhml.selfhost.co/books/linux/page/watchtower "Watchtower")einrichten

### Admin-Token

der wird ebenfalls in der Config-Json Datei gespeichert

<div class="page-content" id="bkmrk-version-%233-erstellt%3A"><div dir="auto">  
</div>---

<div class="text-muted text-small"><div class="entity-meta"><svg class="svg-icon" data-icon="history" role="presentation" viewbox="0 0 24 24" xmlns="http://www.w3.org/2000/svg"> </svg>Version #3   
<svg class="svg-icon" data-icon="star" role="presentation" viewbox="0 0 24 24" xmlns="http://www.w3.org/2000/svg"> </svg>Erstellt: 25 October 2022 09:28:12 von hermann   
<svg class="svg-icon" data-icon="edit" role="presentation" viewbox="0 0 24 24" xmlns="http://www.w3.org/2000/svg"> </svg>Zuletzt aktualisiert: 25 October 2022 11:02:23 von hermann</div></div></div>